Latest

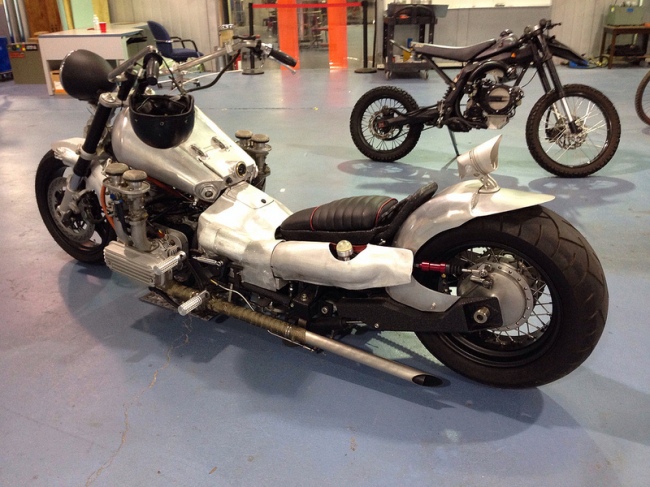
Exbike complete!

Image

The Type 4 Exbike was unveiled at the East Coast Cookout 2013……. time to move on to the next build!

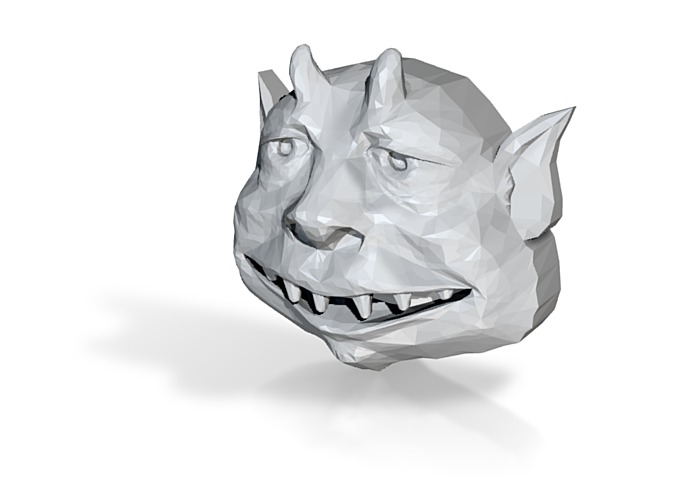
Finishing the build with some ‘DEMON’ graphics to complete the front fender.

The plan is to adorn the front fender with my version of the ‘Checkered Demon’.

He will be sculpted from billet aluminum and welded to the front fender along with a set of hands to hold on with.

Here’s the 3D tooling rendition from my sketch and SteveO’s 3D modeling skills:

demon1

The Exbike has been Tested On-The-Street

Here’s the “Exbike” just after the first test run on the street. Drive train, clutch, and shift linkage felt great. For it’s size and weight it trails well.

Easy to manuver, power-to-burn, and very fun to ride! Now it’s time to detail, lights, bodywork, finish and ride!

2013-05-30_23-00-20_186

Finished the last bit of welding on the tailight

Last night I caught some time to finish some welding on the “piston tail  light”.

Covered the fastener mounting holes and made a hood to protect the LED’s.

Next Step is to add some amber turn signal LEDS in the fender slots.

light2

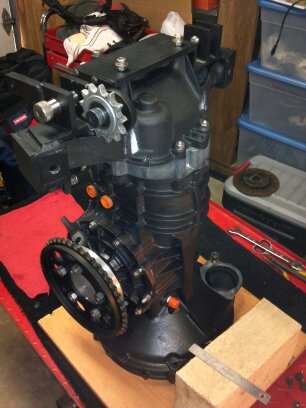
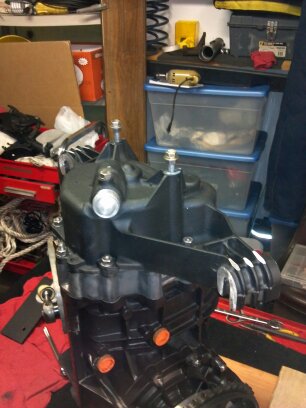
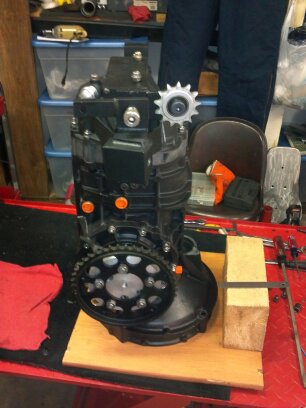
Getting the 901 transmission ready

The transmission is out and I’m tearing into it to flip the differential, I put it in upside down when I first rebuilt the tranny.

bike tranny 1361133798633 1361133774118 1361133671064 1361133425828 1361133376339 1361133156666 1361131536351 1361131525474 1361130932034 1361130194236 1361130188851 1361130178667 1361123638469 1361123626804 1361123124933 1361123067026 1361122441918

Frame straightening exercise diversion

Recently I took on a group project with 3 greats; Charlie Watts, Doug Hoboult, and TC Hoboult. The plan is to straighten an old sporster hardtail frame. If the aligning goes well we will add a few design enhancements. Then Doug and TC will finish the build out and TC will pilot this classic to Sturgis and back! (next year)

Here’s the frame, engine, rearwheel, and forks mounted on the aligning frame.

TCdoug1

from the rear
tcdoug2

laser mounted above
tcdouglas2

Final Tear Down and Reassembly Begins

Here’s the Exbike sitting next to Blackie just before starting the final tear down to complete the build.

exbikeblackie

Final Phase of the Build – preparing for tear down on the stand,

preparing for final  Up on the stand

uponlift

Here we go

comingapart2 comingapart1

A little further
teardown1

teardown3

teardown2

The Exbike is Running

Here’s some recent snaps of the build.

In the garage ‘frame airbag deflated’ sitting on frame feet. There are 2 separate air bags frame and seat. Each bag has an independent pressure control circuit located right behind the gas tank. The piston tail light points up at an angle when the frame air bag is deflated. The rear fender rotates inward toward the seat when deflating the bag and then rotates outward during inflation, and the tail light beam goes to the horizontal position. The other air bag is multi-purpose  it supports the seat. The seat has a compound hinge in the front and the second bag is used to adjust seat ride height, spring constant, and is used to lift the seat away from the rear fender when deflating the frame airbag (that’s the position you see in the photo below). The seat returns to the predetermined ride height and pressure when the frame air bag is re-inflated at ride time!

Image

View of the front fender with turn signal protrusions awaiting Radiantz LED’s and wiring.

Image